
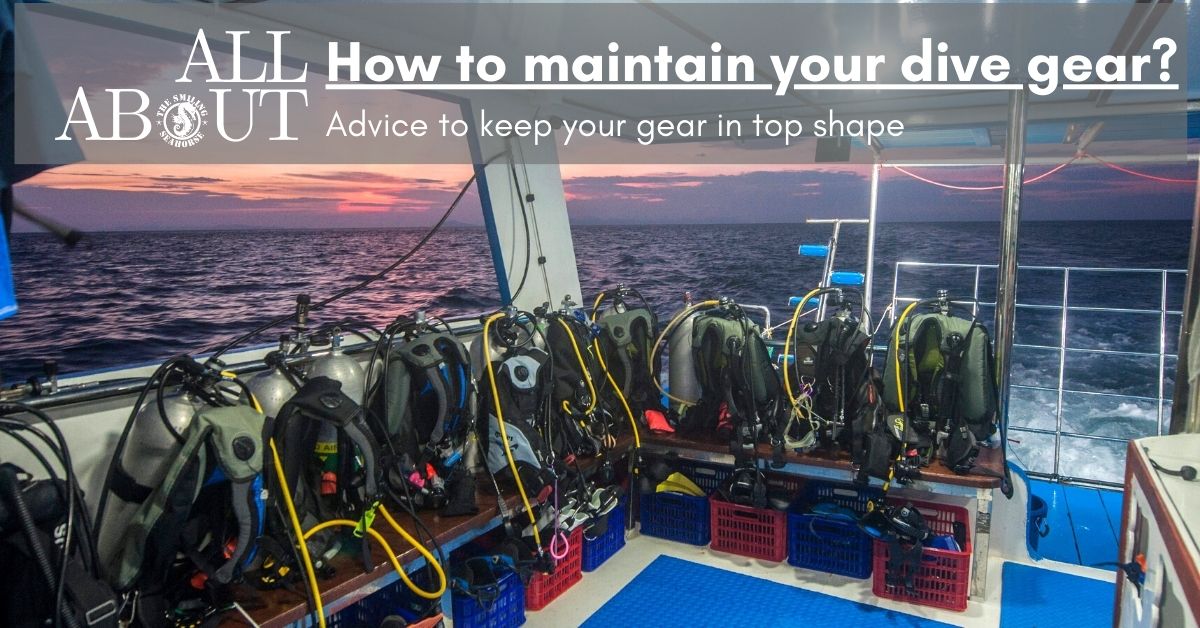
How to Maintain and Clean Your Scuba Diving Gear for Longer Lifespan
Once you invest in dive gear, you want it to last as long as possible. To do this, a vigilant maintenance ritual is essential! Here are some recommended steps:
1. Rinse It Immediately After Use
This is a very important first step. After a dive, salt or chlorine could leave some harmful residues on your gear. Rinse it in FRESH water as soon as you dismantle your kit to clear the dirt and reduce the risk of corrosion.

2. Dry It Properly Away From the Sun
Thoroughly dry out your gear after a day’s diving. You can use a towel for the small parts (like the first stage) and then hang it in an open-air area. Enclosed places will make your gear smelly and humid and can also promote the growth of mould. It is very important to keep it away from the sun while drying because the sun can damage some materials.

3. Store It for the Next Time
Try to find a shaded, dry, and fresh room to protect your gear from humidity, sun, and overheating. If you have no choice but to store it in a closed bin or other space with restricted airflow, consider using silica gel packets or even an open box of baking soda to absorb extra moisture.

How to Clean Every Piece of Your Equipment
Mask
It is really important to prepare your mask well before the dive in Thailand or Myanmar so that it won’t get foggy. First, you need it to be very clean. Fresh from the manufacturing line, a new mask often has a residual layer of silicone covering the tempered glass, which will create lots of fog during a dive. There are many methods to treat a mask, including soaking it overnight in cola, using toothpaste on the inside, and burning it with a lighter.
In my opinion, the best way to remove that pesky extra silicone is to first burn it carefully so that the lenses turn black. Be careful to stay away from the edges of the lenses with the flame as you can damage the seal between the glass and the frame. Rinse off the soot and then thoroughly massage toothpaste onto the inside of the lens and let it dry all night. The day after, wash it with dish soap and rinse. You might need to repeat the process a few times before it is efficient. Patience!
Also, when you soap up your mask before your dive, be sure not to rinse all the soap out. You don’t want it to burn your eyes, but that little soapy film will prevent fogging quite efficiently.
Regulator
Before doing anything, read the manual for the specific procedure. When you take your regulator off the tank, clean and dry the first stage tank connection to make sure there is no dust or water on it. Blow dry the dust cap and screw it firmly back in place. Rinse the entire regulator in fresh water as soon as possible after use. Be careful not to press the purge button of the second stage, which might open the valve and make some water seep into the first stage. The best method is to dunk the second stages into fresh water, paying special attention to the mouthpiece and any connections. Remove the hose protectors from their place to rinse the length of the hose hidden by this rubber sleeve.
Dry it away from the sun without twisting hoses.
Have your regulator professionally serviced in an authorized dive centre every 2 years, or according to the manufacturer’s directions. Be sure to always have this technical maintenance carried out by a trained, licensed professional. This piece of equipment keeps you alive underwater, so please be responsible in making sure it is up to the precious task.
BCD
Be sure to check your BCD before every dive. Are the releases well clipped? Is your cylinder band secure and safety strap in place? Does your LPI function correctly with both power and manual inflators? Does the LPI’s direct system deflator button work well? Do the emergency dump valves quickly and effortlessly deflate the BCD?
After the dive, give your BCD a bath on the inside and outside, as prolonged exposure to salt water can degrade the inner bladder as well as the seams and stitches. Rinse the outside with fresh water, then partially inflate and dump out any extra seawater that may have gotten trapped inside. Be sure to use your emergency dump valves to drain the water, as salt water can damage the direct system on the LPI very quickly. Now pour some fresh water into the BCD through the manual inflate mouthpiece to rinse the inside. Have a little dance with your BCD as you turn it upside down and in all directions to move the fresh water to every corner of the bladder. Now hold it as high as you can with your emergency dump valve at the lowest point of the jacket and purge the water through the dump valve. Partially inflate and let it dry away from direct sunlight in an open-air place. Store it in a dry room.
Exposure Suit
After every use, rinse your exposure suit inside and out in freshwater. If you have access to warm water, this will help dilute salt and chlorine more readily and flush residues out of the fabric.
Lubricate the zippers with Vaseline or a silicone lubricant. Make sure to coat the length of the zipper by doing up and undoing the zipper several times after greasing it up. This can also help remove any small particles that can jam it up and damage it.
Dry and store it on proper hangers, large enough to prevent lasting folds in your suit. I always prefer to fold my wetsuit in half over the hanger instead of placing the hanger’s arms in the shoulders like you would with a coat. When the suit is wet, it is quite heavy, so hanging it the way you would hang up a shirt can actually stretch out the shoulders over time, deforming the upper half of the garment.
You can even get hangers specific for diving equipment with little hooks and clips designed for hoods, gloves, and other accessories.
Knife
Even if your blade is stainless steel, you need to rinse it properly after diving. Take it out of its protective sheath and, if you can, open it completely. This will allow the blade to dry, prevent rusting, and also free small salt particles from the joints.
Dry it properly with a towel and store it in its case again so you don’t risk damaging your gear or yourself.
Flashlights
Rinse your flashlight with fresh water as soon as you can so salt water doesn’t have time to dry on it and leave marks. Press the ON/OFF button a few times underwater to remove any dust or salt particles and make sure the button doesn’t jam up in either position.
Remove it from the water and dry it on the outside. Make sure your hands aren’t wet, and open it gently so any lingering water doesn’t get inside. Remove, dry, and clean all the joints, and lubricate the o-rings and threads. Put it back together and store the battery and the torch separately in a dry area away from heat.
Get Ready for the Dive!

Explore More Diving Tips & Guides
- Thailand diving – plan your next dive trip across top Andaman Sea sites.
- Myanmar diving – explore pristine reefs and remote islands in the Mergui Archipelago.
- Safety equipment and procedures – learn more about our on-board safety standards.
- Cruises, schedules & itineraries – check our upcoming liveaboard expeditions.



One Response
thank you for making this article very useful and keep up the good work